Let's start with a really easy fix. If something is missing buttons, see if it's a kind that's easily replaceable. If it is, great. If the button is somewhat of a specialty, see if there's another cheap, damaged clone and buy it just for the buttons. It's wasteful to destroy a garment that has minor flaws, so if all you want are the buttons, pick something that's so beat up that no one would want to buy it. Finally, if it's a specialty button and you can't buy another item with the same buttons, you can either a) change all of the buttons, or b) take off one or two of the bottom-most buttons and move them up top. Don't forget about the bottons on pockets and the sleeves!
Next comes hardware that you can remove altogether without leaving a trace. Take a look at Exhibit A:

The beads were sewn to each shoulder strap like so. This top ended up in the $1 racks because one link of the beads came off, sending the beads hanging. Since I'm lazy and like to throw everything into the machine, I found the beads cumbersome and wanted to take them off, leaving just a black beater. Since I make jewelry, I have the pliers necessary to repair the link, which means I get a new necklace out of it. The detachable flower pin is an added bonus. The same rationale is applicable to clothes with interesting patches, bottons, or other decorative detail worth salvaging.
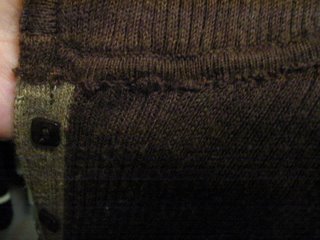
If something is wrong with the cloth itself, things get trickier. If holes result from problems at the seam, they should be easy to repair. Cotton fabric is pretty easy to deal with. However, more work may be needed for cheap knits. I got a hooded knit sweater that had several holes along the seam attaching the hood to the rest of the sweater. Since the hood covers up the holes, I figured my lousy sewing skills won't show. Unfortunately, my repairs came partly undone in the wash. My mom ended up undoing all of my handiwork and spent an hour carefully stitching into the bottom and then the top layers of fabric in the hood.

Her work is infinitely better than mine. With my skills, things barely hold up well enough through a few wears. I need to learn to sew better.
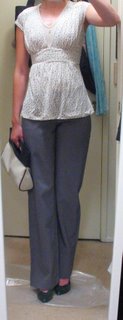
When the rips are not at the seams, we start to tread into dangerous territory. They become more exposed. If that's the case, only get things with small rips at locations that do not draw attention. This is what I wore for work sometime last week:

OK, so the picture is too small and washed out for anyone to see. What if I clue you in with this picture?
Still can't tell?

The rip is right below the seam around the collar, just like a small scar on skin. This is a good location for women with long hair because the flaw gets covered up. The hem is another good location. If the top is really long and the rip is a few inches above the hem, one option is to chop off the bottom and just hem it.
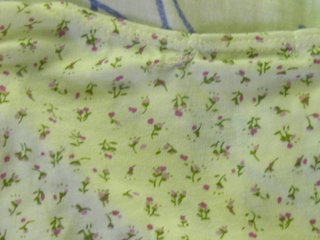
Rips are fairly easy to repair. With the floral top, I closed the hole by holding the ripped flap in place (just like fitting pieces of a puzzle) and sewing the pieces together. If the hole in the fabric is not just a rip, but rather caused by a missing piece of fabric, you'll have to think about whether you can sew a cute patch on it. If not, it's probably better to stay away.
I usually counsel against buying things with stains on it, but I broke my own rule this time. I found a really cute off-white graphic tee with trails of dry things stuck on it (probably food), leaving wine-colored stains. The t-shirt was off-white and has a vintage feel to it, and the stains were fairly small and complementary in color. I figured that food should wash off, and if the stains don't, they looked like they belonged there. This is what it looked like after I washed it:

There's a really tiny stain left if you hold it up to the light, but if you can't tell here, you surely can't tell from far away:
Small, complementary stains that look food- or makeup-based have the greatest likelihood of getting washed off. Beyond that, tough luck. Oil stains are especially hard to spot. I bought a pretty and sheer Saint Grace cami with lace trim. I inspected the seams and the fabric for holes and could find none. I thought that maybe I lucked out, that there really isn't any damage. I didn't find out until months later that the entire top was stained by lotion or something, which made the top more translucent. Since the top was sheer to begin with, it wasn't much of a problem, but it's definitely another flaw on my checklist for future reference.
Unless you have a sewing machine or can sew in straight lines very well, I would stay away from wonky zippers. You know something's wrong when you have a hard time zipping up. This dress looked flawless, and for $2.50, I thought I was getting a great deal.

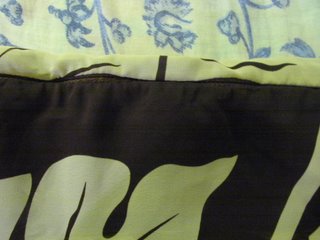
The zipper got stuck a little, but it didn't seem like a big problem. In fact, the dress was OK until the second wash, but that's when it became unwearable. The seams came apart, causing the cheap imitation chiffon to fray at the ends. I fixed it somewhat, but the zipper problem got worse. It turns out the fabric part of the zipper had worn away so much that it was not able to distribute the force exerted by zipping. Therefore, zipping up became 10 times harder. My quick fix was using thread to mend it together, but I know I'd have to either replace the zipper eventually. When I finally zipped up the dress, I noticed that the problem would have been easy to spot if I knew what to look for:

See those two big brown bulges toward the top of the picture? That's a sign the zipper has weakened. I'd advise you to stay away if you don't know how to change the zipper.
That's it for tonight...it took a long time to explain things in a coherent fashion (better than the last 2 parts, if nothing else). Next time I'll talk what just I found at the thrift store, and how I cleaned it.

1 comment:
If you rub the zipper with soap it may open and close easier. It may be beyond this though.
I have enjoyed reading your blogs on altering clothes.
Post a Comment