
A few weeks ago I spotted a Geren Ford dress at the FIDM Scholarship Store. At the time, I loved the print, but didn't buy the dress because it was too low cut. When I went again last week, only the smallest sizes were left. I wanted to wear the dress over another top anyway, so the low cut problem isn't significant, but what if I manage to shorten the straps? I just might be able to wear it on its own. Hmm...I figured that I better get one in my size (and one that's in good shape) before it was gone.
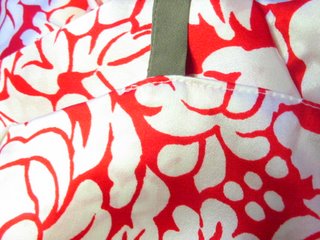
Here's the dress before surgery. I simply can't wear it by itself:

Yes, I know it's not Christmas. No, my knees are not really this weird-looking.
I could have just folded the strap over at the back of the dress and sew it down, but I didn't want to ruin the silk fabric. If the extra bits got caught and tugged, the whole dress might be ruined. Therefore, I decided to try to do a more professional job. It might take a long time, but it's better than risking a ripped-up dress. The best job possible could have been achieved by taking the lining apart, shortening the straps, then sewing the whole thing back together again, but that wasn't feasible since I don't have a sewing machine. The next best thing to do was to take the dress apart where the straps were connected, so that's how I proceeded.
Tools: needle, thread, scissors, ruler, pencil, and a nail clipper...wha?!? While scissors are nice for cutting big things, delicate surgery at the seams requires a smaller cutting tool. The curved blades of a nail clipper offers that kind of precision.
Before you do anything to the dress, put it on and see how much you need to cut off. Make sure your chopping job is reasonable--you don't want to end up cutting too much and end up restricting your movements. Hold on to the amount you want to shorten and move your arm around--raise it up, to the side, etc.--to make sure you feel comfortable with the new length.
Here's a view of the inside of the dress.
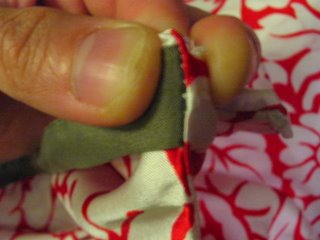
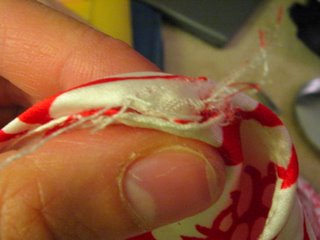
 See the stitches holding the inner and outer lining together? The first step is to snip off a few stitches where the strap is. Use a needle to carefully pry out the thread, then cut with the nail clipper. Don't take apart the lining any more than necessary. We want to sew the strap back in the original location, and what better way to find it than the plug-and-chug method?
I intended to start taking the strap apart at the back of the dress so that my subpar workmanship can remain hidden, but I didn't realize that I started at the front until after seeing these pictures (and that's when I started kicking myself). Well, don't repeat my mistake. Start at the back of the dress on the side where the label is.
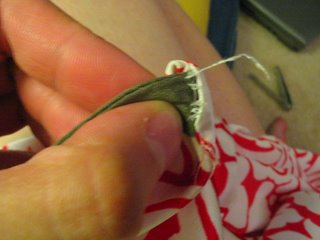
Once you've cut apart a few stitches, gently pull apart at the seams. Enough of the thread should be exposed such that you can pry that apart and snip. Once you take out one stitch, the rest should come out easily. Chances are, the strap is also sewn to the outer lining. If that's the case, take out the stitches on that side as well.
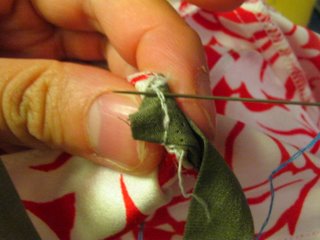
 My, it does get quite messy. Stuff the loose ends back inside.
Measure the strap and mark how much you want to shorten (I'll call this "Point A"), starting from where the strap was originally sewn in (where the holes are). You also want to leave about 1cm below Point A to stick in between the linings. Cut off the excess.

Tune in next time to see how to put the dress back together again! It's pretty hard to describe, so I'll chew on it.
No comments:
Post a Comment